
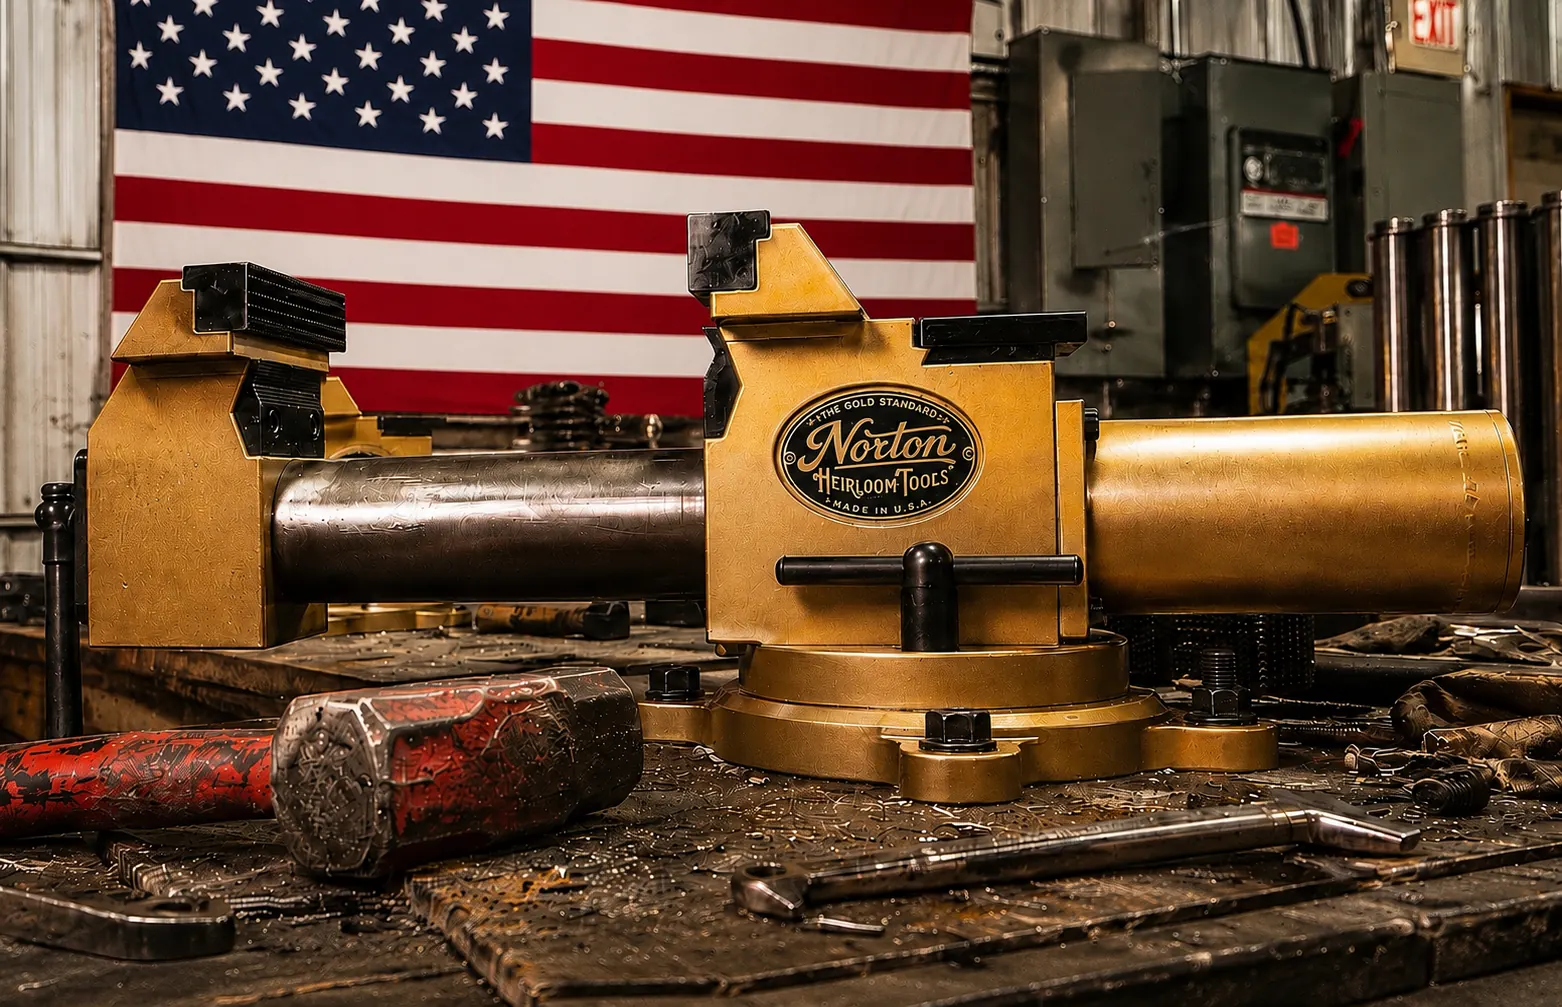
★ 100% Made in the U.S.A. · Solid steel, no castings · Made in Traverse City, Michigan

Instructions & How to Use

Everything you need to get the most from your Model 60 combination pipe and bench vise.


Video Tutorials

Instruction 1

Unboxing and first setup · video embed slot

Instruction 2

Mounting to your bench · video embed slot

Instruction 3

Maintenance and care · video embed slot


Usage Guides

Maintenance

  • We recommend Valvoline Automotive Multi Vehicle High Temperature Red Grease
  • One grease zerk lubricates body, jaw tube and swivel base. Only grease with the vise fully opened — greasing it partially opened or closed will fill the rear nut retainer tube and create a big mess. Start with the swivel base nuts tightened. Pump grease until you feel some resistance and see grease escaping around the dynamic jaw slide tube; this also cleans debris from the main body housing. Next, loosen the swivel base nuts and add more grease to lubricate the swivel base, then rotate the vise on the base to work the grease in.
  • The screw and nut assembly is sealed — no service needed
  • Blow chips and debris out of the slide tube before closing. Check for and remove any welding splatter from the slide tube if present
  • Quote your model and serial number when you call about parts. It is located on the side of the vise that has the grease zerk, just in front of the swivel nut

Proper mounting

  • Bolt through the bench
  • Use all four base holes: 8.5 x 5.55 in. pattern, 0.675 in. dia. for 5/8 bolts
  • Use a steel backing plate under thin benchtops

Best practices

  • Clamp low in the jaws, near the screw
  • Tighten by hand — the vise works to 20,000 lb.
  • Do not use a cheater bar; it is not needed
  • Use the pipe jaws for round stock, 5/8 to 3 in.
  • Support long work at the far end
  • Strike the anvil face only, never the slide
  • This vise is very strong, so be cautious about how much force you apply using the handle to avoid destroying your part

Own a Vise Built to Last a Lifetime

Jump to FAQ